
Plivo’s WhatsApp Business API makes sending and receiving WhatsApp messages easy. Getting started is simple - even for non-technical users. Here’s how to onboard your WhatsApp Business Account (WABA), register your number, and send messages in seconds.
Meet the prerequisites
There are several prerequisites you must meet to begin using our API. Before you can send your first message, check these steps off your list.
- Sign up for a Plivo account if you haven’t already done so. We’ll give you some credits to use when you’re first starting out. Once you’ve used them, set up your payment details to ensure your account always has funds.
- Log in to the Facebook account with access to your company’s Meta Business Manager. To add a WABA with Plivo, the Facebook account should have the “Full Control” access level of the company’s Meta Business Manager.
- Make sure you have a phone number that can receive a one-time passcode (OTP) either via SMS or voice call without an IVR
Step 1: Connect your WhatsApp Business Account with Plivo
Next, create a new WABA or link an existing WABA via the WhatsApp landing page on the Plivo console. This will open Meta’s embedded signup flow that will take you through the following steps to connect your WABA with Plivo.
- Log in to Facebook and select Continue
- Select your business
- Select an existing WABA or create a new one. Note that if you select an existing WABA, it will be delinked from any previously connected business service provider (BSP).
- Name your WABA account. The name you use will not be visible to your messaging audience. It should match or closely align with your registered business name with regional identifier (if any). Avoid using special characters and abbreviations.
- Set the WhatsApp Business Display Name. This name is visible to your messaging audience. Therefore, it should match your company’s name as closely as possible and adhere to the WhatsApp Business Display Name Guidelines.
- Select the business category
- Enter a phone number and verify with an OTP
- Click Continue, and you’re ready to go. Select Finish.
Step 2: Verify that Meta onboarding was successful
Once you’ve completed the first step, the WABA will be shown in your Plivo console. Verify that onboarding was successful by visiting the Business Settings of your Meta Business Account, and clicking on WhatsApp Accounts. Go to the Partners tab. You should see Plivo included on your partners list.
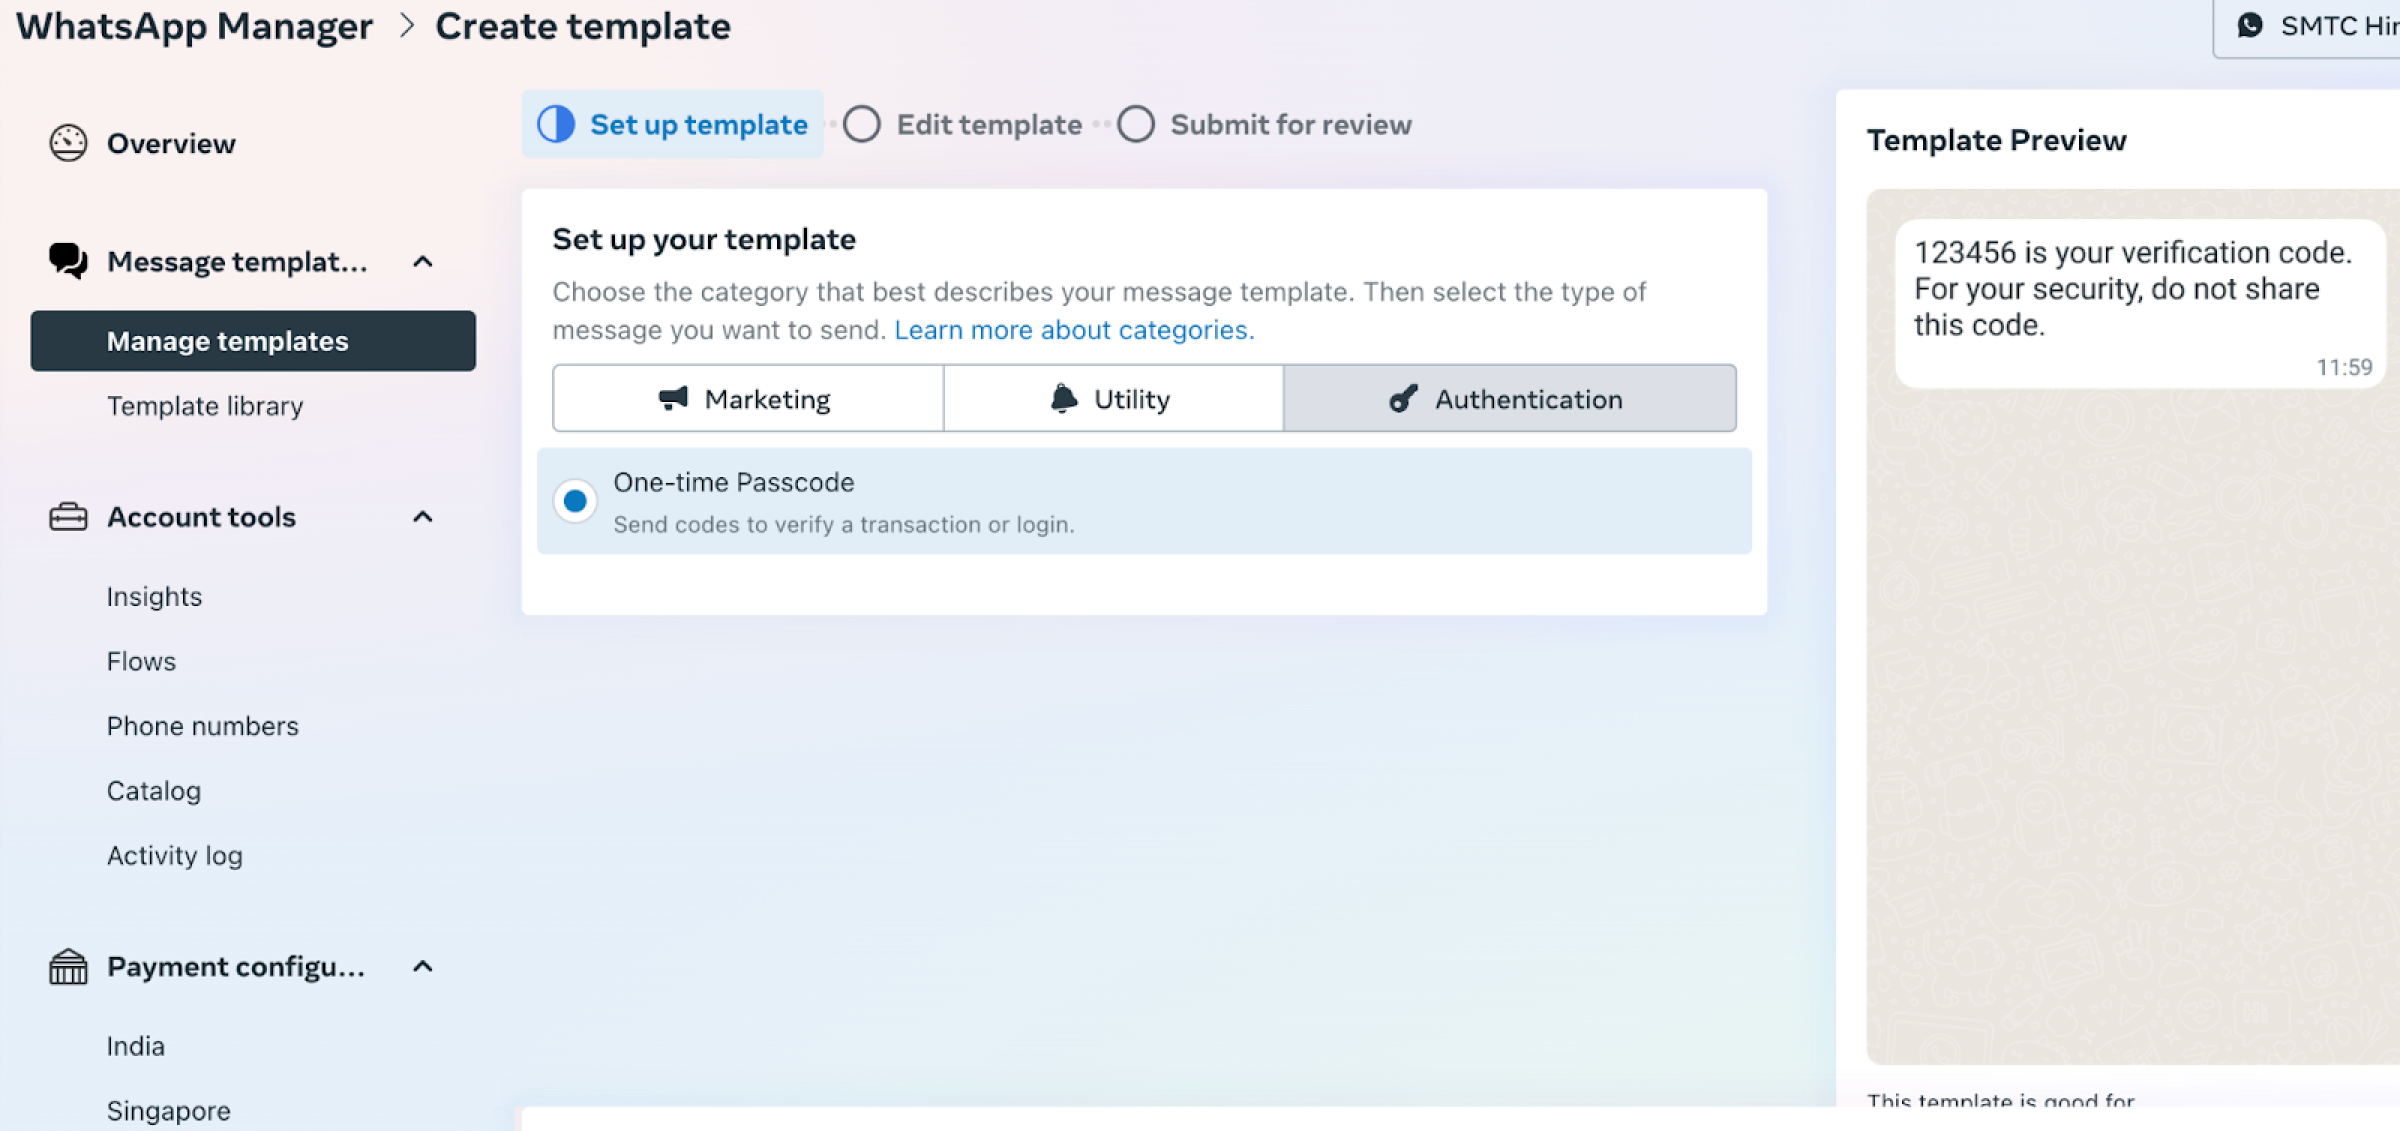
Step 3: Create a WhatsApp Template for approval
Meta requires you to use approved templates to initiate WhatsApp messages to your audience. Go to the WhatsApp Template Management page on Meta and create a template. Choose the best fit from Meta's list of templates according to your business needs.
Note that the message template determines your conversation type, which also determines how you will be charged. Meta charges different fees for different types of conversations. Expect Meta to take up to 24 hours to approve new templates.
Once the template you’ve created is approved by Meta, use the “Sync Templates from WhatsApp” function in your Plivo console to fetch the template details.
To successfully configure WhatsApp Channel in Plivo Verify, you will need at least one approved “Authentication Template” in your WhatsApp Manager.
Step 4: Send your first WhatsApp message!
When your template is approved, you’re all set to use our API to send your first message. Create a file called send_whatsapp.js and paste into it this code.
var plivo = require('plivo');
var client = new plivo.Client(""<auth_id>"", ""<auth_token>"");
const template = {
         ""name"": ""sample_purchase_feedback"",
         ""language"": ""en_US"",
         ""components"": [
           {
             ""type"": ""header"",
             ""parameters"": [
               {
                 ""type"": ""media"",
                 ""media"": ""https:’//‘plivo.com/s3/img1.jpg""
               }
             ]
           },
           {
             ""type"": ""body"",
             ""parameters"": [
               {
                 ""type"": ""text"",
                 ""text"": ""ABM Water Purifier""
               }
             ]
           }
         ]
       }
client.messages.create(
   {
      src:""<sender_id>"",
      dst:""<destination_number>"",
      type:""whatsapp"",
      template:template,
      url: ""https:’//‘.com/sms_status/""
    }
    ).then(function (response) {
      console.log(response);
     });
</destination_number></sender_id></auth_token></auth_id>
Customize the code with the following changes:
- Replace the auth placeholders (such as <auth_id>) with your authentication credentials that can be found on the Plivo console.
- Replace the phone number placeholders with your phone number in E.164 format (for example, +12025551234).
- src should be the phone number registered for your WhatsApp Business Account.
- dst should be the recipient's WhatsApp number.
Note that WhatsApp templates support four components: header, body, footer, and buttons. When you send messages, the template object you see in the code acts as a way to pass the dynamic parameters. header can accommodate text or media (images, videos, documents) content. body can accommodate text content. footer cannot have any dynamic variables.

That’s it - you’re all set to start using Plivo’s WhatsApp API. To learn more about Plivo’s WhatsApp API, please refer to our developer resources or reach out to our support team.


