Receive Response from a Quick Reply Button in an Interactive Templated Message
Overview
This guide covers how to receive webhook response when a user clicks on a quick reply button in an interactive templated message.
Prerequisites
To get started, you need a Plivo account — sign up with your work email address if you don’t have one already. If this is your first time using Plivo APIs, follow our instructions to set up a Python development environment.
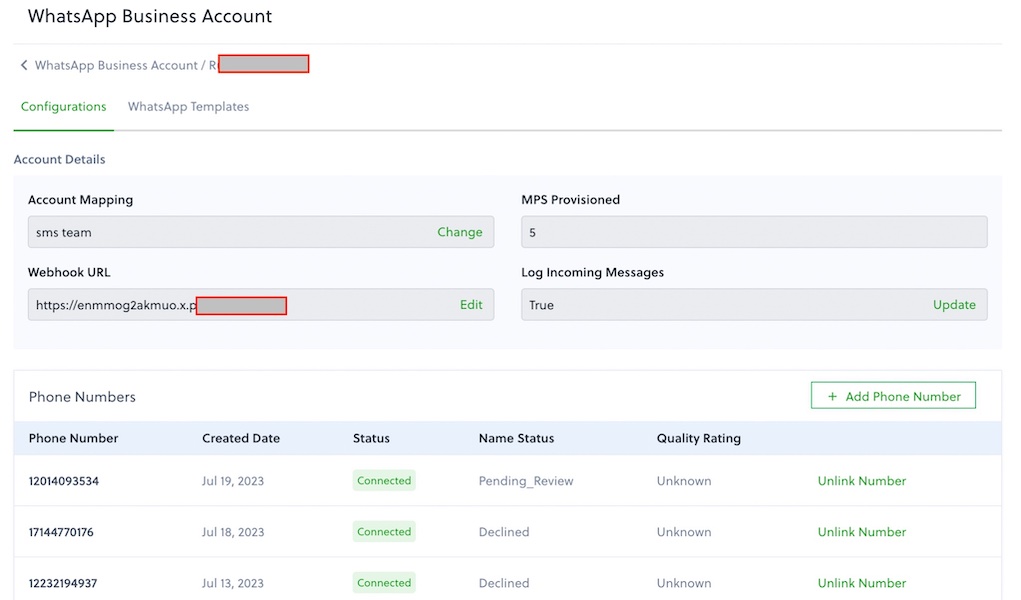
You must have an onboarded WhatsApp account to receive inbound messages. If a number is listed as connected, it can receive inbound messages.
Create a Flask application to receive messages.
Create a file called receive_whatsapp.py and paste into it this code.
from flask import Flask, request

app = Flask(__name__)

@app.route('/receive_whatsapp/', methods=['POST'])
def inbound_whatsapp():
    data = request.json

    from_number = data['From']
    to_number = data['To']
    context = data.get('Context', None)

    if data['ContentType'] == 'text':
        text = data['Body']
        print('Text Message received - From: %s, To: %s, Text: %s' % (from_number, to_number, text))

    elif data['ContentType'] == 'media':
        media0 = data.get('Media0', '')
        caption = data.get('Body', '')
        print('Media Message received - From: %s, To: %s, Media Attachment: %s, Caption: %s' % (from_number, to_number, media0, caption))

    elif data['ContentType'] == 'button':
        button_text = data['Button']['Text']
        button_payload = data['Button']['Payload']
        print('Button Message received - From: %s, To: %s, Button Text: %s, Button Payload: %s' % (from_number, to_number, button_text, button_payload))

    if context:
        context_message_uuid = context.get('MessageUUID', '')
        print('Context Message UUID: %s' % context_message_uuid)

    return 'Message Received'

if __name__ == '__main__':
    app.run(host='0.0.0.0', debug=True)
Configure a webhook URL in your WhatsApp Business Account
Add or update a webhook URL from this link to a WhatsApp Business Account. Once you’ve done this, you should be able to receive inbound messages.

Test
Send a WhatsApp message to the Plivo number you specified using WhatsApp application.
