Receive Response from a Button Message
Overview
This guide covers how to receive webhook response when a user clicks on a interactive button message you sent.
Prerequisites
You need a Plivo account — sign up with your work email address if you don’t have one already. If this is your first time using Plivo’s APIs, follow our instructions to set up a Node.js development environment.
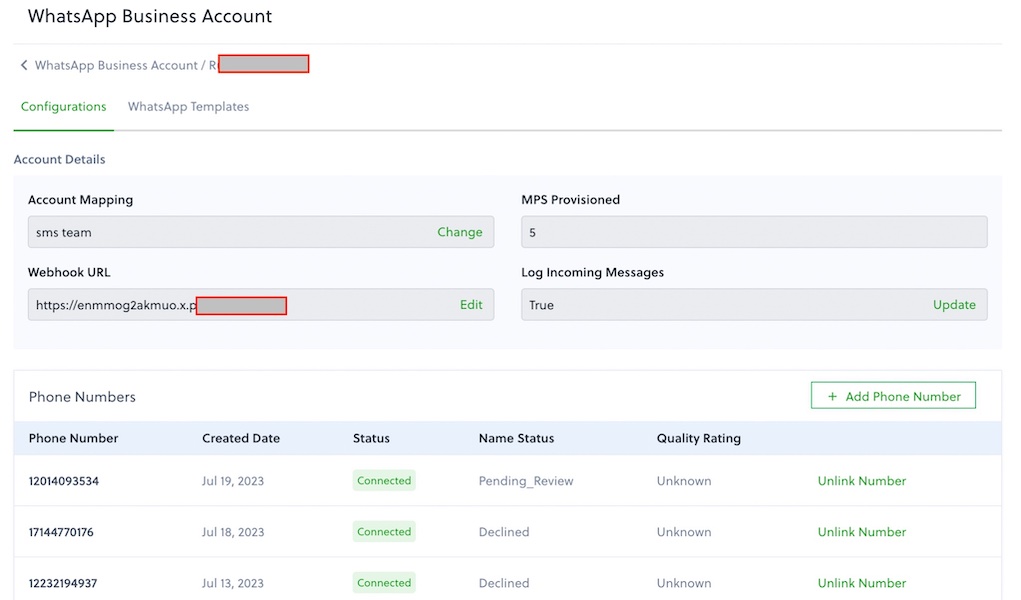
You must have an onboarded WhatsApp account to receive inbound messages. If a number is listed as connected, it can receive inbound messages.
Create an express server to receive messages
Create a file called receive_whatsapp.js and paste into it this code.
1
2
3
4
5
6
7
8
9
10
11
12
13
14
15
16
17
18
19
20
21
const express = require('express');
const bodyParser = require('body-parser');
const app = express();

app.use(bodyParser.urlencoded({
    extended: true
}));
app.use(function (req, response, next) {
    response.contentType('application/xml');
    next();
});
app.set('port', (process.env.PORT || 3000));
app.all('/receive_whatsapp/', function (request, response) {
    let from_number = request.body.From || request.query.From;
    let to_number = request.body.To || request.query.To;
    let media = request.body.Media1 || request.query.Media1;
    console.log('Message received - From: ' + from_number + ', To: ' + to_number + ', Media: ' + media);
});
app.listen(app.get('port'), function () {
    console.log('Node app is running on port', app.get('port'));
});
Configure a webhook URL in your WhatsApp Business Account
Add or update a webhook URL from this link to a WhatsApp Business Account. Once you’ve done this, you should be able to receive inbound messages.

Test
Send a WhatsApp message to the Plivo number you specified using WhatsApp application.
